The Playwright VSCode Extension
I don't believe I have talked about the vscode extension playwright developed back in version 1.22 but its actually pretty awesome.
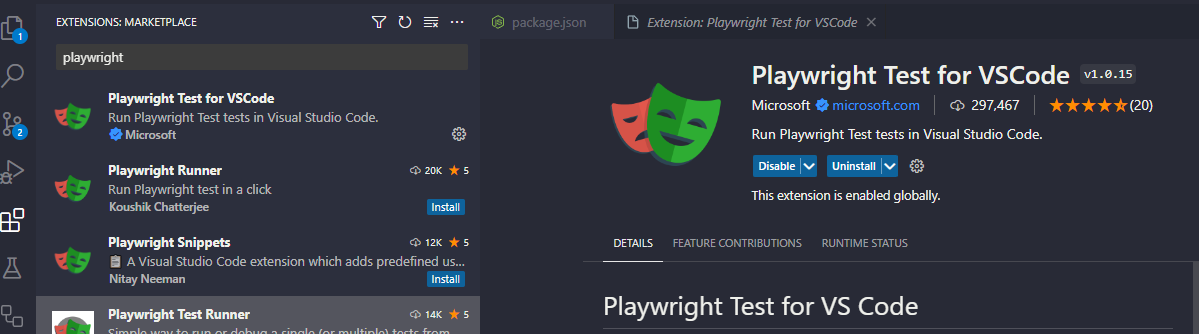
Download the extension
DANGER
Make sure you download the extension that is supplied by Microsoft (Check for a blue checkmark)
ms-playwright.playwright extension
After you download you have a quite a few option to choose from. Lets go ahead and create a new Playwright project using the extension
Downloading Playwright using the extension
With VSCode open. Open the command pallette using ctrl + shift + p and type install playwright

Click enter and from here it will show which browsers you want downloaded, javascript or typescript, and f we want github actions. choose whatever you like or leave as default which is fine as well and click enter.
At this point we can run npx playwright test to run are tests or utilize the extension.
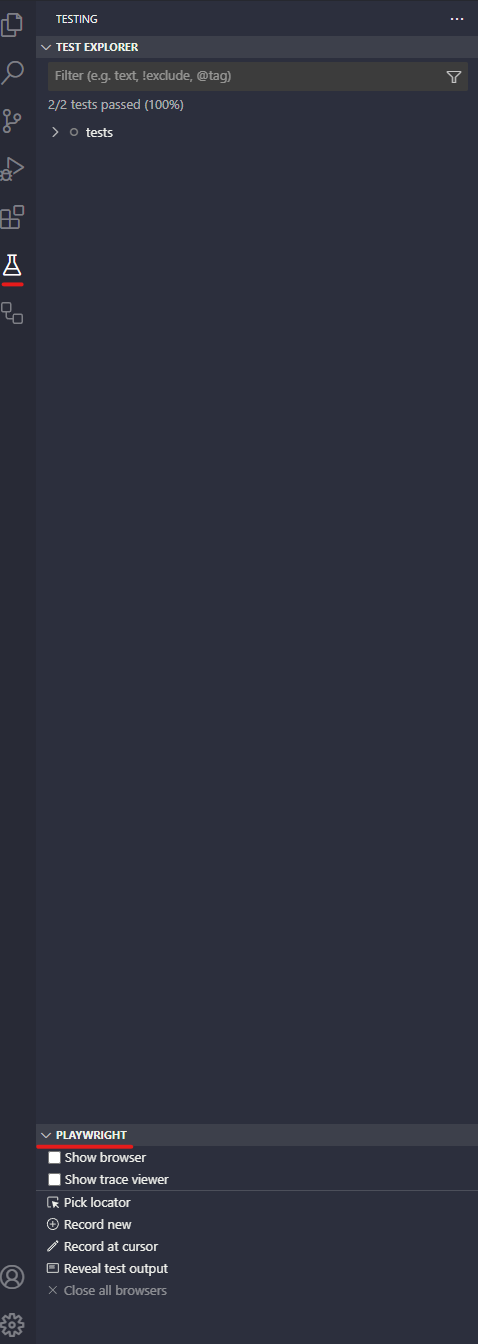
Playwright Extension Usage and Awesome Features
Lets head on over to the testing icon on the far left and we should see Playwright near the bottom of the sidebar (This can be adjusted)
Now if we wanted we can run this sample test to see if it runs smoothly by clicking the play button. hovering over the tests text at the top will reveal another play button, which would run all tests similarly to the play button that is revealed after hovering inside of the Test Explorer
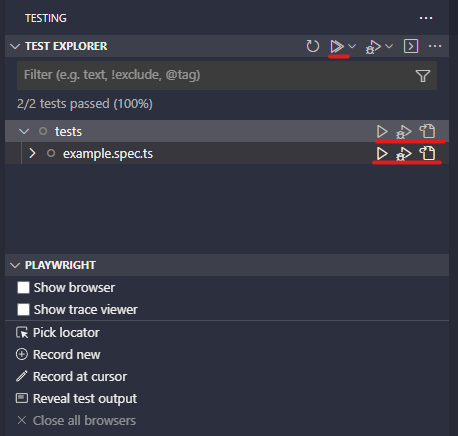
The top most button also has a dropdown which will allow for running tests for a specific browser, or change the default that is ran.
Show Browser Feature
This is actually a hidden gem and does much more than running playwright in a headed mode and might be my favorite feature.
Running with the Show Browser option checked, we will notice that the browser doesn't end. if we hover over our test code we can see what elements are being selected!

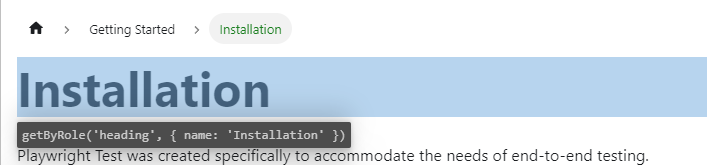
This is suuuuuuuuuuuuuuuuuuuper cool. mainly as well because you can also find selectors live using this method!!!!
So lets do that.
Live debugging
Within the example spec.ts(or js) lets make a quick update to the code. Im going to change the getByRole name from Get started to Star and just remove the expect statement for now.
import { test, expect } from '@playwright/test';

test('has title', async ({ page }) => {
  await page.goto('https://playwright.dev/');

  // Expect a title "to contain" a substring.
  await expect(page).toHaveTitle(/Playwright/);
});

test('get started link', async ({ page }) => {
  await page.goto('https://playwright.dev/');

  // Click the get started link.
  await page.getByRole('link', { name: 'Get started' }).click();
  await page.getByRole('link', { name: 'Star' }).click();


  // Expects page to have a heading with the name of Installation.
  await expect(page.getByRole('heading', { name: 'Installation' })).toBeVisible();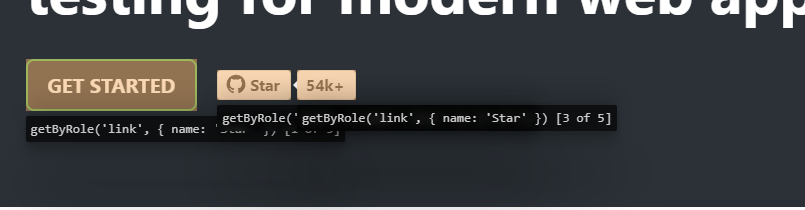
});After running we will see we have an error. Error: locator.click: Error: strict mode violation: getByRole('link', { name: 'Star' }) resolved to 5 elements:
Which means 5 other link type elements resolve this element selector. We see in the test results console what the elements are:
Error: locator.click: Error: strict mode violation: getByRole('link', { name: 'Star' }) resolved to 5 elements:
1) <a href="/docs/intro" class="getStarted_Sjon">Get started</a> aka getByRole('link', { name: 'Get started' })
2) <a class="gh-btn" target="_blank" rel="noopener nor…>…</a> aka getByLabel('Star microsoft/playwright on GitHub')
3) <a target="_blank" class="gh-count" rel="noopener n…>54k+</a> aka getByLabel('54k+ stargazers on GitHub')
4) <a target="_blank" rel="noreferrer noopener" href="…>…</a> aka getByRole('link', { name: 'Disney+ Hotstar' })
5) <a href="/docs/intro" class="footer__link-item">Getting started</a> aka getByRole('link', { name: 'Getting started' })


at tests\example.spec.ts:14:50
Execution log

waiting for getByRole('link', { name: 'Star' })However Lets hover over the new selector and see what we are getting.
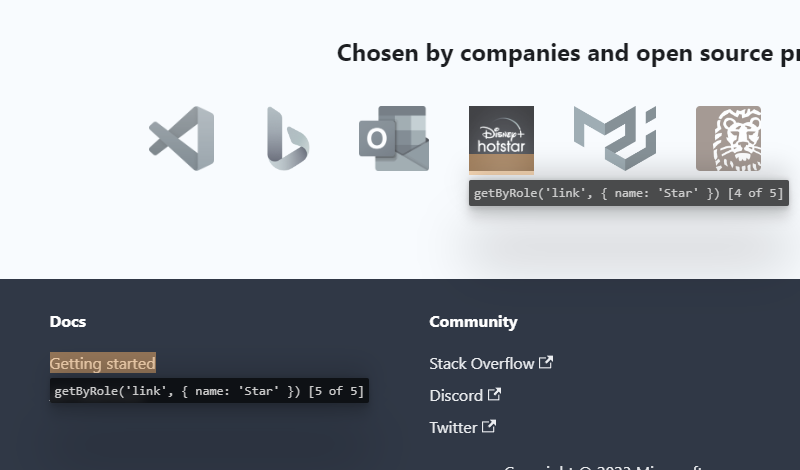
So now we know what elements we are selecting. For this example I want to click the github star button. We can view this in our developer tools tab or utilize one in the test results here
Error: locator.click: Error: strict mode violation: getByRole('link', { name: 'Star' }) resolved to 5 elements:
1) <a href="/docs/intro" class="getStarted_Sjon">Get started</a> aka getByRole('link', { name: 'Get started' })
2) <a class="gh-btn" target="_blank" rel="noopener nor…>…</a> aka getByLabel('Star microsoft/playwright on GitHub')
3) <a target="_blank" class="gh-count" rel="noopener n…>54k+</a> aka getByLabel('54k+ stargazers on GitHub')
4) <a target="_blank" rel="noreferrer noopener" href="…>…</a> aka getByRole('link', { name: 'Disney+ Hotstar' })
5) <a href="/docs/intro" class="footer__link-item">Getting started</a> aka getByRole('link', { name: 'Getting started' })


at tests\example.spec.ts:14:50
Execution log

waiting for getByRole('link', { name: 'Star' })After making the change, we can see if it worked live by double checking or selector 
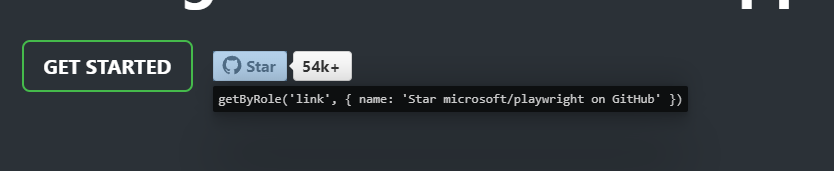
and now if we re-run, we are back in a working condition. This is incredibly useful. but what if you wanted to be even lazier?
Pick locator option
With the browser still open from our test, we can navigate back to the extension and click on the Pick Locator option to find a good locator for our test. For now ill re-grab that Get Started button from earlier.
After clicking the Get Started button the locator will pop up for us to copy and paste in vscode. 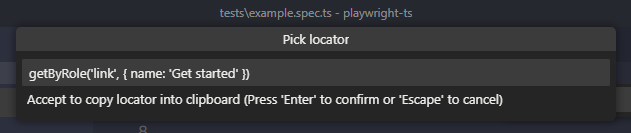
Which we can then just paste back in to be back where we were before
Other options
There is also show trance viewer which we have shown in the past. as well as the ability to Record a new test which i wont get into since we spoke about those before.
Record at cursor however will start a recording at the current cursor position on the spec file.
That'll be it for now! thanks!